Create your own handwritten font
Posted on 2018 / 10 / 13 in education
This short note tell you about creation of handwritten font (tested by myself). The necessity of this task was caused by the following personal factor:
- one very good person asked my help with notes writing (yes, there are some university teachers who ask handwritten notes in Russia in 2018).
Further, subconscious mind was On and next ideas was come up:
- I want to create such fonts to preserve information about living people;
- It will be a good font for myself notes (to make my site or e-mails more personally);
- I want to test, if such a font will affect the best memorization of texts and a better perception of the material.
One way or another, shall we start? The basic article for this work is this note. Furthermore, all further works are doing in Ubuntu 18.04 OS (I didn't test this approach is other OS, although I do not see any obstacles or difficulties to try it if necessary).
For this work we will need:
- scanner;
- printer;
- one or two sheets of papers (Letter or A4);
- black pen or marker;
- programs:
- GIMP,
- Inskape,
- FontForge;
- about 3 hours of free time.
1. Template preparation
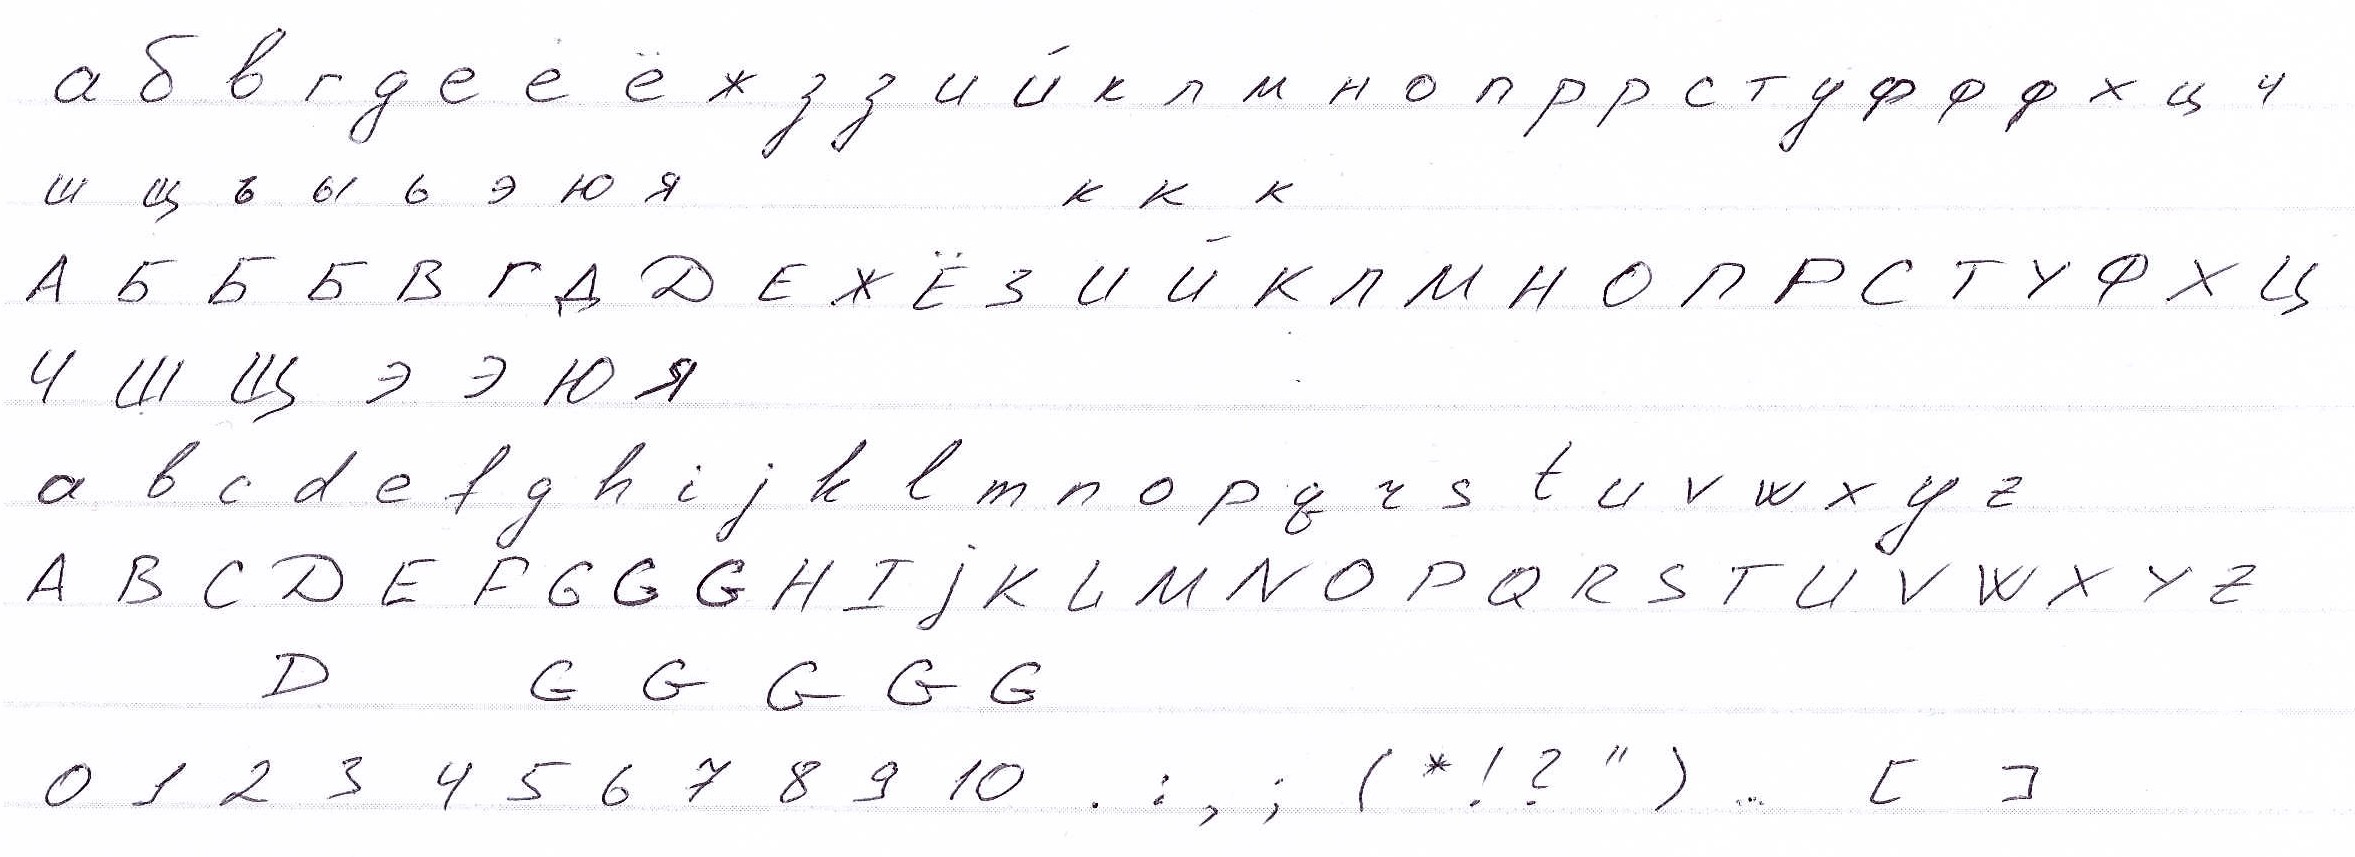
First, you should prepare a handwriting template for the font. It is handy to use either millimeter paper or simply the A4/Letter sheet (with lines on the back side, so that lines do not interfere with the characters). Next, a black pen is used to write all the necessary symbols for the font. The resulting material is scanned in graphical format (*.png or *.jpg for example). Unnecessary blank space is cut off and the file is saved for further work. Something similar to Fig. 1 should appear.
|
Fig. 1. Example of handwritten template. |
2. Preliminary work with template
Scanned image is opened in graphical redactor GIMP and its contrast and brightness are modified (Menu bar Colors -> Brightness and Contrast). Try to prepare the most contrast and low-noises image (for me the -50 of brightness and maximum of contrast works good).
Further, copy resulting image to Inskape. First of all, our image need to convert to vector form. We can use function Path -> Trace Bitmap for it (and our image should be selected). Use Grays parameter in Multiple scans area and set Scans = 2. Next, set remove background checkbox and press Ok. After such iterations our font will be more smooth. Also, the Nodes must appear for image (you can work with them with select Edit path by nodes (F2) from left menu).
3. Copy information from template
For further working, we need to select only one symbol from our handwritten template (section No 1). For that, we need to select all nodes from section No 2 (F2), then select all unnecessary nodes with help of the mouse, and delete them (Del). Then, we must see, that only one symbol has nodes. Next, use Ctrl+L (for simplify and smooth the symbol image) and Ctrl+C for copy it to clipboard.
4. Font creation
Previously copied symbol is added to computer font template, which is created in FontForge program. Open the program and click New, which open the fonts window. Then, input copied vector character to its cell. Such action can be done with double click on cell and Ctrl-V magic. Further, the new symbol's shape must appear inside computer font template. Now, we need to resize it and set width.
Open proper window (Element -> Transformation (Ctrl+\\)) and set Scale X 1000 %, Y 1000 % (its worked in my case, but you can improvise). Next, select the whole symbol with mouse and, with clicked Yellow circle, drag it to 0,0 angle (left bottom). So, the symbol should be limited to the left and the bottom, and have a small distance to the top line. As you probably have guessed, this lines is symbol borders for printing. Additional border at the bottom is the space for the "tail" of the letter. If it lower than this border, the letter will cut when the new paragraph is started (but for simple new line letter will not be cut). Further, select Metrics - Set Wight and set letter width (I set about 400). Well, we finished our first symbol, and next, we need to process others. Fill cells of computer font template as full, as you needed it.
Do not forget to saved your file time to time (to *.sfd inner format)!
5. Font generating
The FontForge program have a lot of fonts types (you can select type in Encoding menu). The Unicode Full is the most complete font type (and enormously big). As for me, the ISO 8859-5 (Cyrillic) font was good enough. After you filled all needed symbols to computer font template, we can generate our handwriting font with File -> Generate Font (also, I used additional option ClearType *.ttf).
Well, that's it! You have your file with handwritten font and you can test it already!
For Ubuntu system you need to put this font to ~/.local/share/fonts folder (or create this folder first). Next, you can use your font in user environment (in LibreOffice for example).